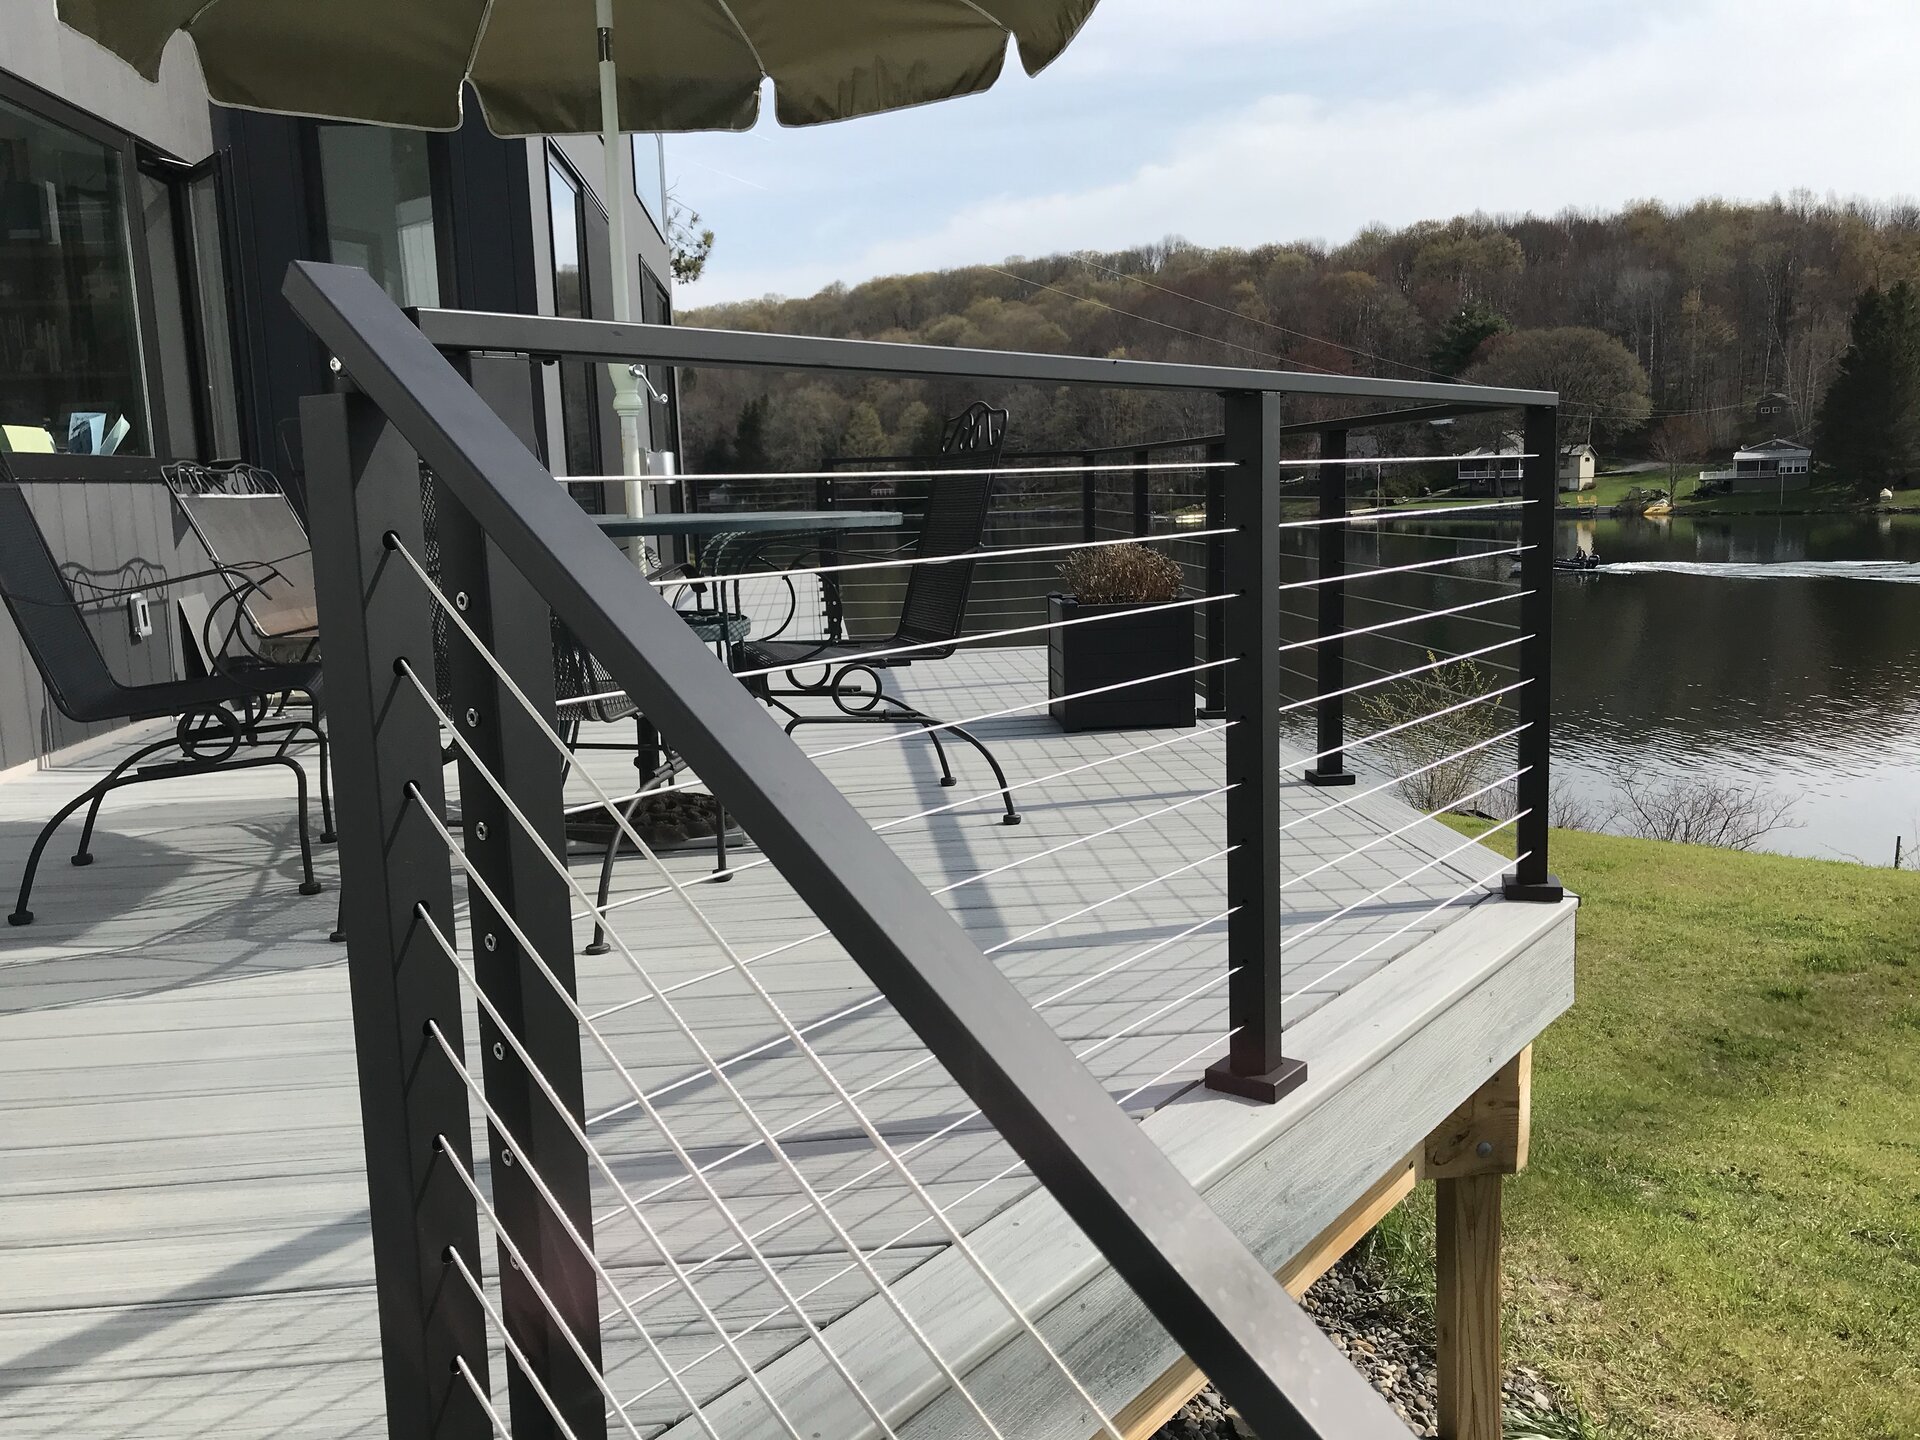
Express Cable Railing
Express is a no-frills cable railing system designed for the DIYer or contractor. We understand that it can be challenging to find all the components for a railing project, and that’s why all the Express posts come with the kits needed. It keeps the buying process easy, the installation simple and the budget on track, but still makes the neighbors say WOW.
Projects are often “down to the wire.” Express Cable Railing is a stocked product designed to ship to you quickly. Once an order is placed, the posts are packed and leave our facilities within the next business day.
With only 5 post types, it’s never been easier to buy a DIY cable railing system. We provide everything you need to install a complete system, including tools specially designed to speed up the installation and “can’t mess it up” installation instructions. Watch our complete set of installation videos to see just how simple it is.
-
Express – Angle End Post
 View ItemExpress Cable Railing System solution for starting or ending a run on an angle.
 -
Express – Angle Line Post
 View ItemExpress Cable Railing System solution for angled runs requiring a pass through post.
 -
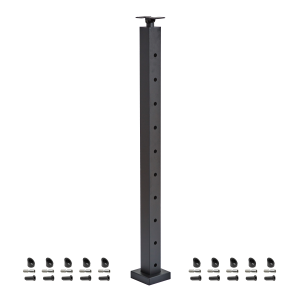
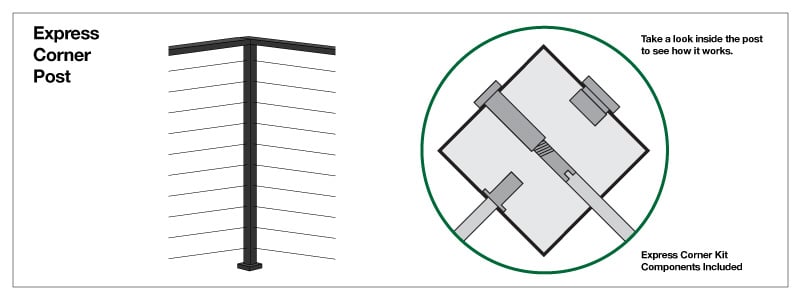
Express – Corner Post
 View ItemExpress Cable Railing System solution for turning corners on level runs.
 -
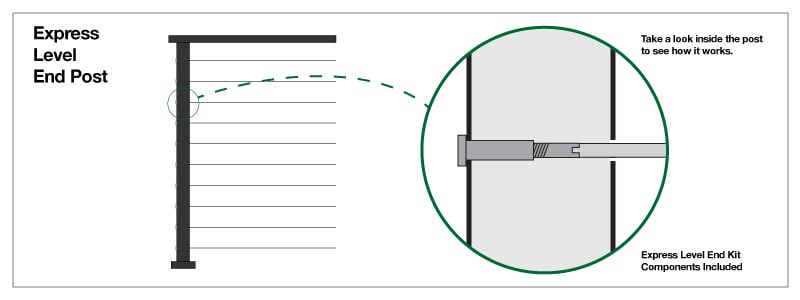
Express – Level End Post
 View ItemExpress Cable Railing System Solution for starting or ending a run on any level surface.
 -
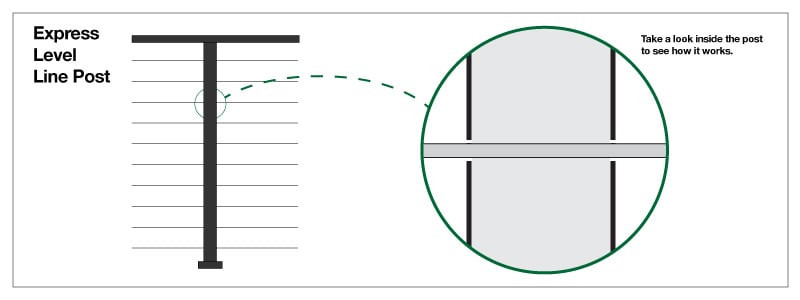
Express – Level Line Post
 View ItemExpress Cable Railing System solution for level runs requiring a pass through post.
 -
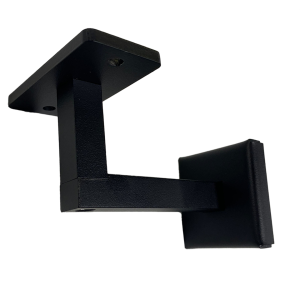
Express – Metal Handrail
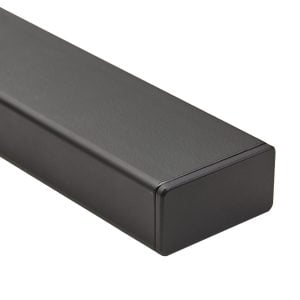
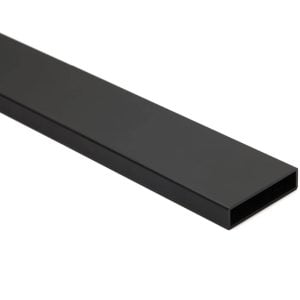
 View ItemPerfect handrail solution for any Express Cable Railing System.
 -
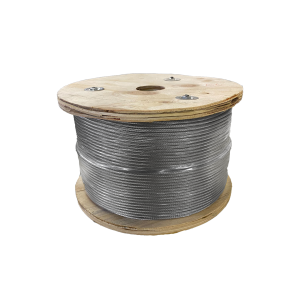
Express – 1/8″ Stainless Steel Cable
 View Item1/8" Stainless Steel Cable for Cable Rail.
 -
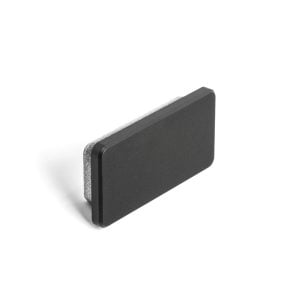
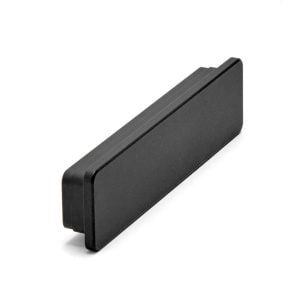
Express Handrail End Plug
 View ItemAdds a sleek finished end for your Express System Handrail.
 -
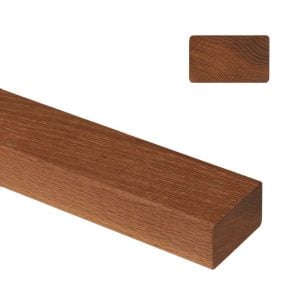
Express Endurance Thermally Modified 6002 Handrail
 View ItemThermally Treated Wood Handrail for Exterior Use
 -
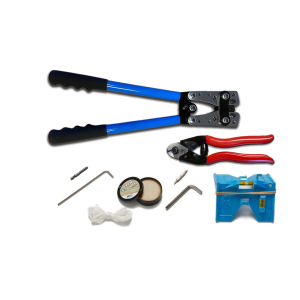
Express Installation Kit
 View ItemComplete Kit for installing any Express System quickly and effectively.
 -
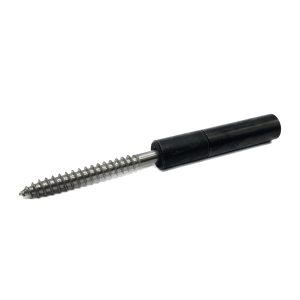
Express DriveTite Kit
 View ItemDIY Cable Railing attachment into a wood post, deck column, or wall
How to Buy Express Cable Railing
Step 1: Determine what posts you need
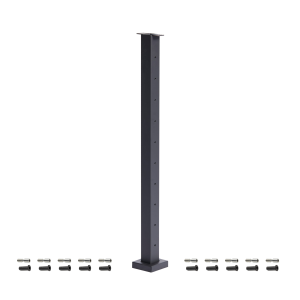
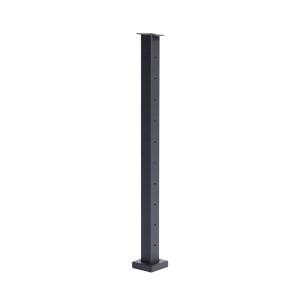
Posts are the backbone of your cable railing system. They’re sleek, unobtrusive, and provide mounting strength. All posts are manufactured from aluminum and finished matte black or silver with our best-in-class powder coating process.
You only have 5 types of posts to choose from, each of which is explained below. To make sure your cable rails don’t have excessive deflection when pressure is applied to the cable runs, mount posts every 4’. It’s important that you don’t cheat this measurement, as it may make your system out of code compliance.
Types of Posts:
There are 5 types of posts in the express system:
End posts (Level & Angled)
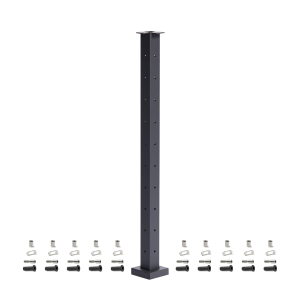
End posts are used to terminate a cable railing run, starting or stopping your system. They include all of the tensioning hardware you need to pull your cable rail tight and secure it to the post.
Line posts (Level & Angled)
Line posts give additional mounting points to keep your handrail strong and limit the deflection of your cables. They include all mounting hardware and do not require any cable fittings.
Corner posts (Level only)
When you need to turn a level corner and want to use a single post, we’ve got you covered. Our innovative Inside Post Mount Fitting allows you to end a cable without it going all the way through the post. This post comes with the cable railing components necessary for two runs and all mounting hardware.
Step 2: How Many Handrail Pieces You Need
In the Express cable railing system, handrail comes in 8’6″, 12′ 6″ and 16′ 6″ lengths. Measure the dimensions of your project and determine how many pieces of handrail you need. It’s okay to cut a piece of handrail down if you need multiple short pieces.
For each handrail you will need to buy two end plugs. If you are going to cut your handrail to use it for multiple runs,you will need to purchase two additional end plugs per extra run. For example, if you cut your 8’6” handrail into two 4’ runs, you will have four ends that need to be plugged.
Step 3: Determine Amount of Cable
To make sure you get enough cable, follow these steps:
- Take the total linear feet of your runs that use 36” posts and multiply it by 10.
- Take the total linear feet of your runs that use 42” posts and multiply it by 12.
- Add the sums of steps 1 & 2 together and multiply by 1.1. This ensures that you’ll have enough extra cable should you make one or two wrong cuts.
- Cable comes in 100’ and 400’ spools. Based on the number you get in step 3, round up to the nearest 100’ and order the corresponding number of 400’ and 100’ spools. Example: Let’s say I determine that I need 682’ of cable. By rounding up, I realize that I need 700’, which I can get by order 1×400” spool and 3×100’ spools.
Step 4: Get an Install Kit
Your installation kit comes with all the specialty tools you need to install your project. It includes:
- Cable Crimper – You’ll use this to crimp the Express cable fittings onto the cable itself. It comes with special dies that are sized for our fittings. (Part of Cable Multi-Tool)
- Cable Cutter – Used to cut the cables. (Part of Cable Multi-Tool)
- Allen Wrench – Use this for tightening the fittings
- Post Level – Useful for making sure your posts are level
- 2” T-30 bit – Specially designed for use with our mounting screws
- 2 oz Tub of Screw Wax – Help your system last longer by utilizing screw wax

