

Installation · 8 min read
Cable Railing Installation: The Complete Overview
From layout to final tensioning — what to expect when installing a cable railing system, and the tools you'll need.
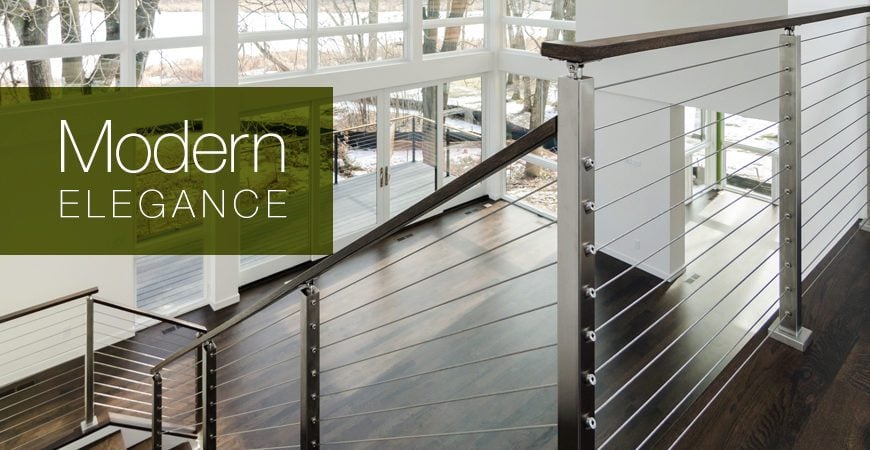
Cable railing installs break into four phases: post layout, post mounting, cable running, and tensioning. Most homeowners complete a straight deck run in a weekend with common tools.
1. Layout
Mark post centers no more than 4 feet apart. Runs longer than 40 feet or with multiple corners benefit from an intermediate tensioning post.
2. Mounting posts
Surface mount: lag into joists or blocking — never decking alone.
Fascia (side) mount: through-bolt with backing washers.
Core mount: epoxy-set into concrete.
3. Running cable
Feed cable through intermediate posts before attaching fittings. Keep runs untwisted — spin the spool, not the cable.
4. Tensioning
Tension from the middle cable outward, alternating up and down. Cables should deflect no more than 3/8 inch under firm hand pressure.
5. Common mistakes
Drill all post holes first
Mark and drill every hole before setting any posts — adjustments are much harder once posts are fixed.
Set end and corner posts first
These are your anchors. Use them to string a reference line for aligning intermediate posts.
Dry-run the cable
Thread cable without fittings to confirm routing, count, and any obstructions before committing.
Re-tension after 30 days
Cables stretch slightly as they seat. A single re-tension pass after the first month keeps deflection within spec.
Mounting options compared
Mount type | Best for | Removal |
|---|---|---|
Surface | Decks with accessible joists | Bolt-out |
Fascia | Flush finished perimeters | Requires patching |
Core | Concrete or masonry | Permanent |
Frequently asked questions
How tight should cable railing be?
Cables should deflect no more than 3/8 inch (1 cm) under firm hand pressure mid-span. Over-tensioning stresses posts and fittings.
Can I install cable railing myself?
Yes — most homeowners complete a straight deck run in a weekend. Stair cable and multi-corner layouts are harder and may warrant professional help.
What tools do I need?
A drill, torque wrench (for fittings), tensioner tool, and cable cutter. Our installation kit includes all specialty tools.
Keep reading
All resources- How-ToInstallationHow to Install Iron Balusters: A Complete Step-by-Step GuideLearn how to install iron balusters step by step — measuring, cutting, drilling, epoxy setting, and code-compliant spacing — for treads, balconies, and knee walls.9 min read
 GuideInstallationProduction Team Member Earns CertificationStudy, Skill, and Certification Graham Morris, a member of StairSupplies’ cable railing production team, recently received ⅜” GMAW, or Gas Metal Arc3 min read
 GuideInstallationUse Horizontal Railing To Modernize Your HomeHorizontal Railing—Rod and Cable Railing Systems With fluid, parallel lines, horizontal railing is the hottest trend in stair and deck railing systems.3 min read